This is an old revision of the document!
Table of Contents
Windows Crossfire Server Installation Guide
This page has been updated for instructions on installing the server on Windows 10.
If you are using windows and wish to run your own server locally, or setup a public server you will need to install a Crossfire Server. The server is dependent on, Python v2.6.5 installed, a copy of the maps and a copy of the Crossfire Server executable.
For information about building the crossfire server from source on windows see Microsoft Windows Compile Guide
Python v2.6.5
First, we need to install Python v2.6.5 - this is a scripting language that is used by the server for such things as the Post Office, Message Boards and Banking system.
It is highly recommended to install Python first so that the server installation will automatically detect the install and implement Python access to the server & maps.
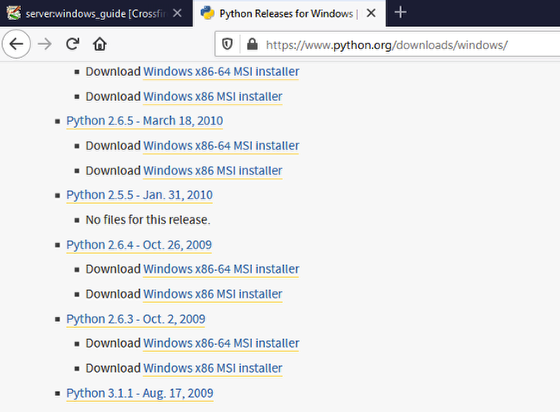
1. Click here to begin the install process of Python v2.6.5
2. If prompted about opening the Executable File, click on the OK button to proceed

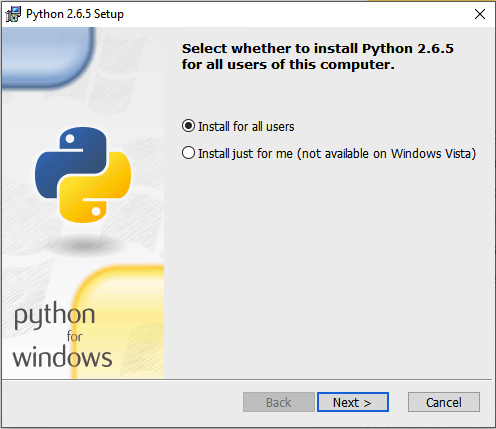
3. The initial setup screen should appear, select Install for all users and click on Next
4. When asked on a Destination Directory, stay with the default (C:\Python26\) unless you have a reason to use a different directory, click on Next

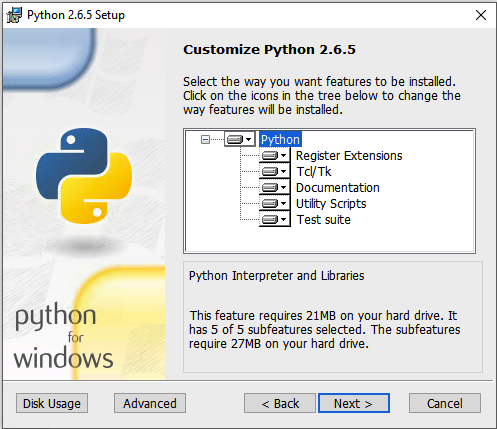
5. On the Customize screen, stay with with default options, click on Next
6. If prompted from User Access Control to allow this app to make changes to your device, click on the Yes button to approve

7. Wait for Python to finish installing, like the screen says - this could take several minutes

8. Python has now finished installing, click on Finish

Crossfire Maps
The map set is a separate file and is required installation in order to play Crossfire.
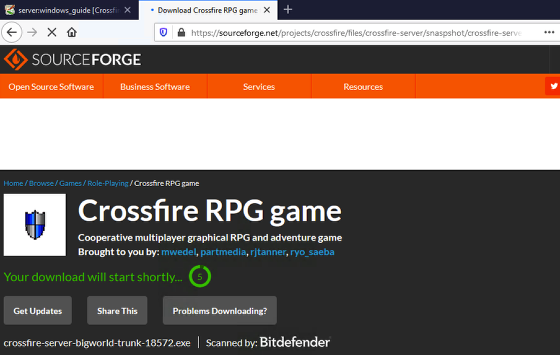
1. Click here to download the Crossfire Maps installer

2. If prompted from User Access Control to allow this app to make changes to your device, click on the Yes button to approve
3. Click Next in the Crossfire maps setup

4. Read through the License agreement, and if you accept, click on I Agree

5. Chose which components to install - it is recommend to use the defaults (Unlinked maps, Test Maps and Python Scripts) and click Next
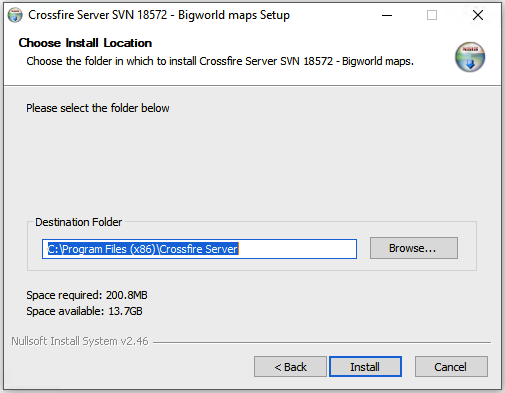
6. Use the default install destination directory (C:\Program Files (x86)\Crossfire Server) - the rest of the instructions assume you're going to do this - click Install

7. Use the default install destination directory (C:\Program Files (x86)\Crossfire Server) - the rest of the instructions assume you're going to do this - click Install
8. Wait for the maps to install - this could take several minutes - click on Next

9. The maps are now installed, click on Finish

Crossfire Server
Now we are going to install the server - which is also a required component for playing Crossfire. The server is installed last so that it will automatically detect the installation of the map files and Python - which will streamline the install process.
1. Click here to begin the install process of Crossfire Server
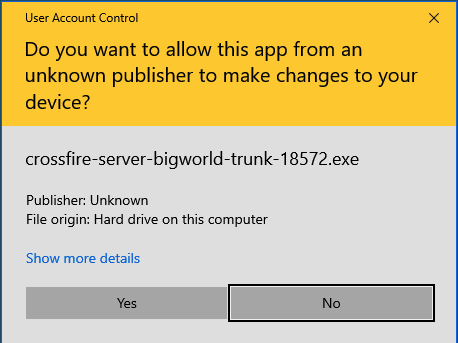
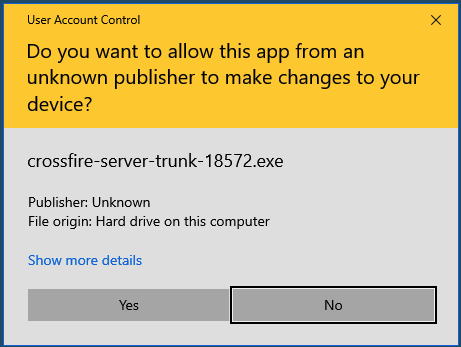
2. If prompted from User Access Control to allow this app to make changes to your device, click on the Yes button to approve
3. Click Next in the Crossfire maps setup

4. Read through the License agreement, and if you accept, click on I Agree
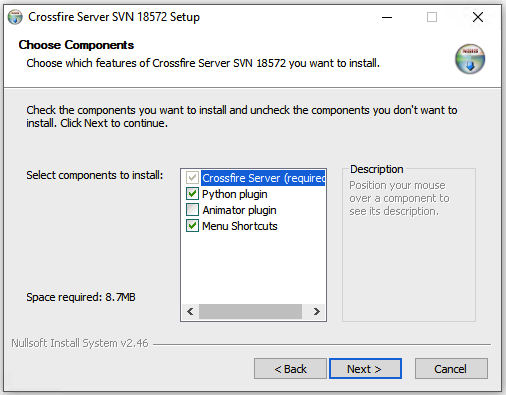
5. Chose which components to install - it is recommend to use the defaults (Crossfire Server, Python plugin and Menu Shortcuts) and click Next
6. Use the default install destination directory (C:\Program Files (x86)\Crossfire Server) - the rest of the instructions assume you're going to do this - click Install

7. Wait for the install to finish, it may take a couple of minutes

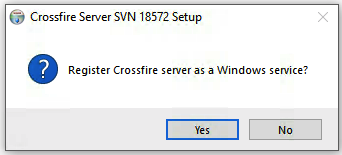
8. You should now see a prompt (Register Crossfire server as a Windows service?) - click Yes
9. Click on Finish

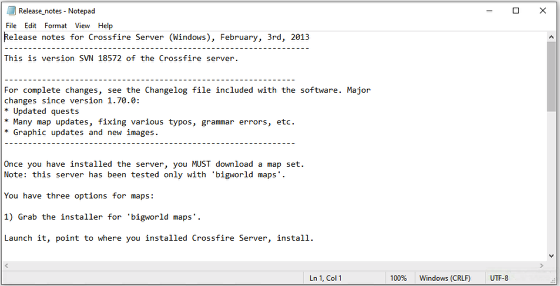
10. Even though the Release Notes indicate to download the latest maps version from subversion, that is no longer recommended. So many changes have taken place with the map archetypes (new items, graphics, et al.) they are no longer compatible with this version of the server.
11. To launch the client, click on Start and scroll until you see Crossfire Server and then click on Install as a Windows service
NOTE: the server tends to run more reliably this way vs selecting the Crossfire Server launch option

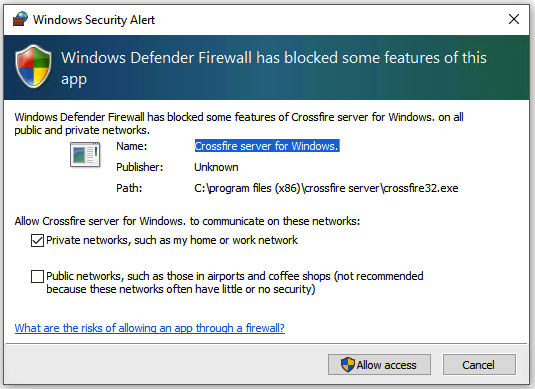
12. If presented with an alert from Windows Defender Firewall select Private networks, such as my home or work network and click on Allow access button
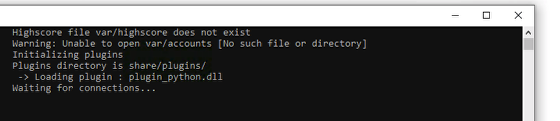
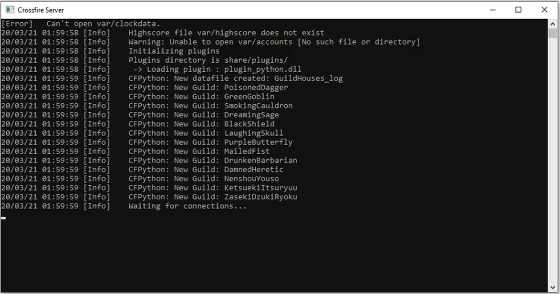
13. After the initial or first launched, there will be some setup information listed in the command window - this is normal and what you what you want to watch for is the text “waiting for connections…”
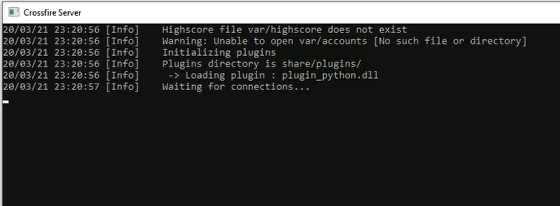
14. Launching the server after the initial launch will display different information, again the important info you want to see is the text “waiting for connections…”
15. To exit or close out the server, click on the X in the upper right corner of the interface window